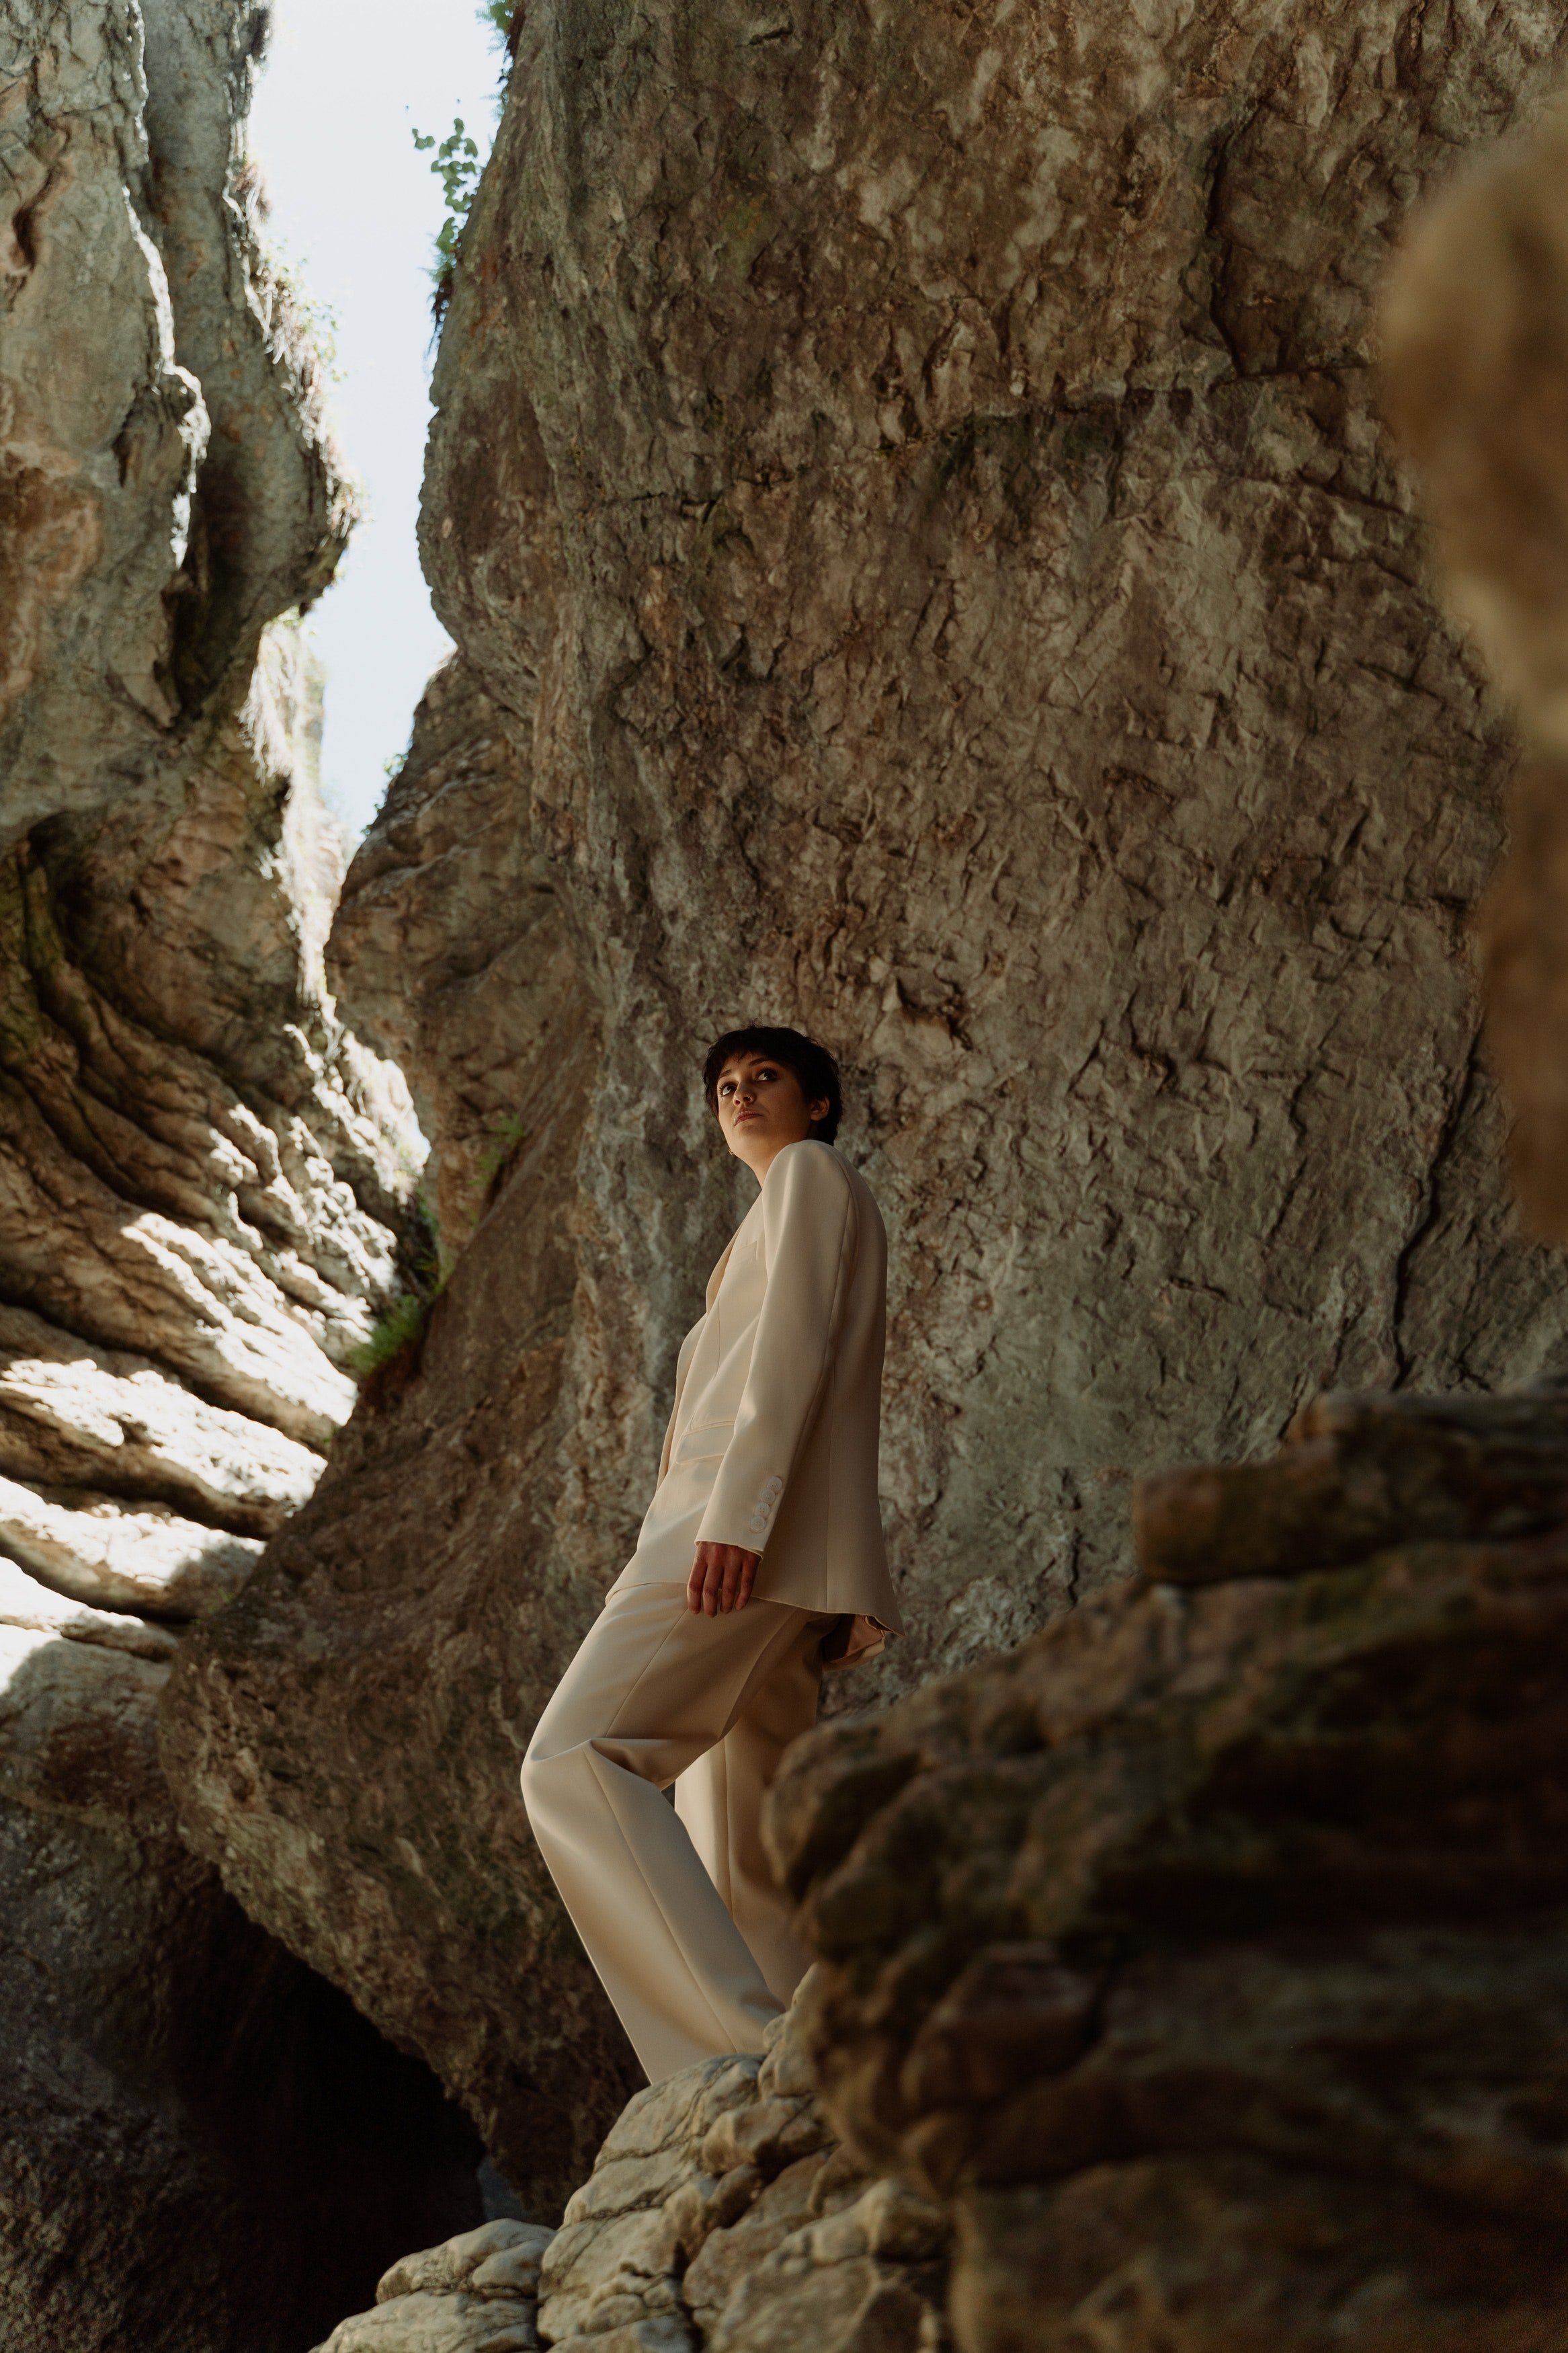
How To Create a Beautiful Digital Wardrobe
We built Indyx with the goal of giving you visibility so that you can make better wardrobe decisions and achieve more effortless style. And so, you are totally free to use your private digital wardrobe in whatever way best serves you in that pursuit. Your digital wardrobe is first and foremost for you.
But our humble opinion is that your digital wardrobe becomes even more powerful when you choose to share it with others, whether that be inviting in a friend or one of our stylists for help.
We also know that people are far more likely to use and return to their digital wardrobes when the images are beautiful. The goal is for shopping your own closet to feel as fun and satisfying as shopping your favorite online store—so we’ve designed Indyx to look like one, too.
That’s why taking some time and effort upfront is so worthwhile: it pays dividends every time you open your (digital) closet. A well-lit, well-posed photo makes your wardrobe easier to browse, easier to style, and way more inspiring to use.
It’s nothing fancy, and anyone can do it at home with just a phone camera. So, what should you make sure you’re doing?
Our Basic Image Guidelines
We strongly recommend that your main item images adhere to two basic guidelines:
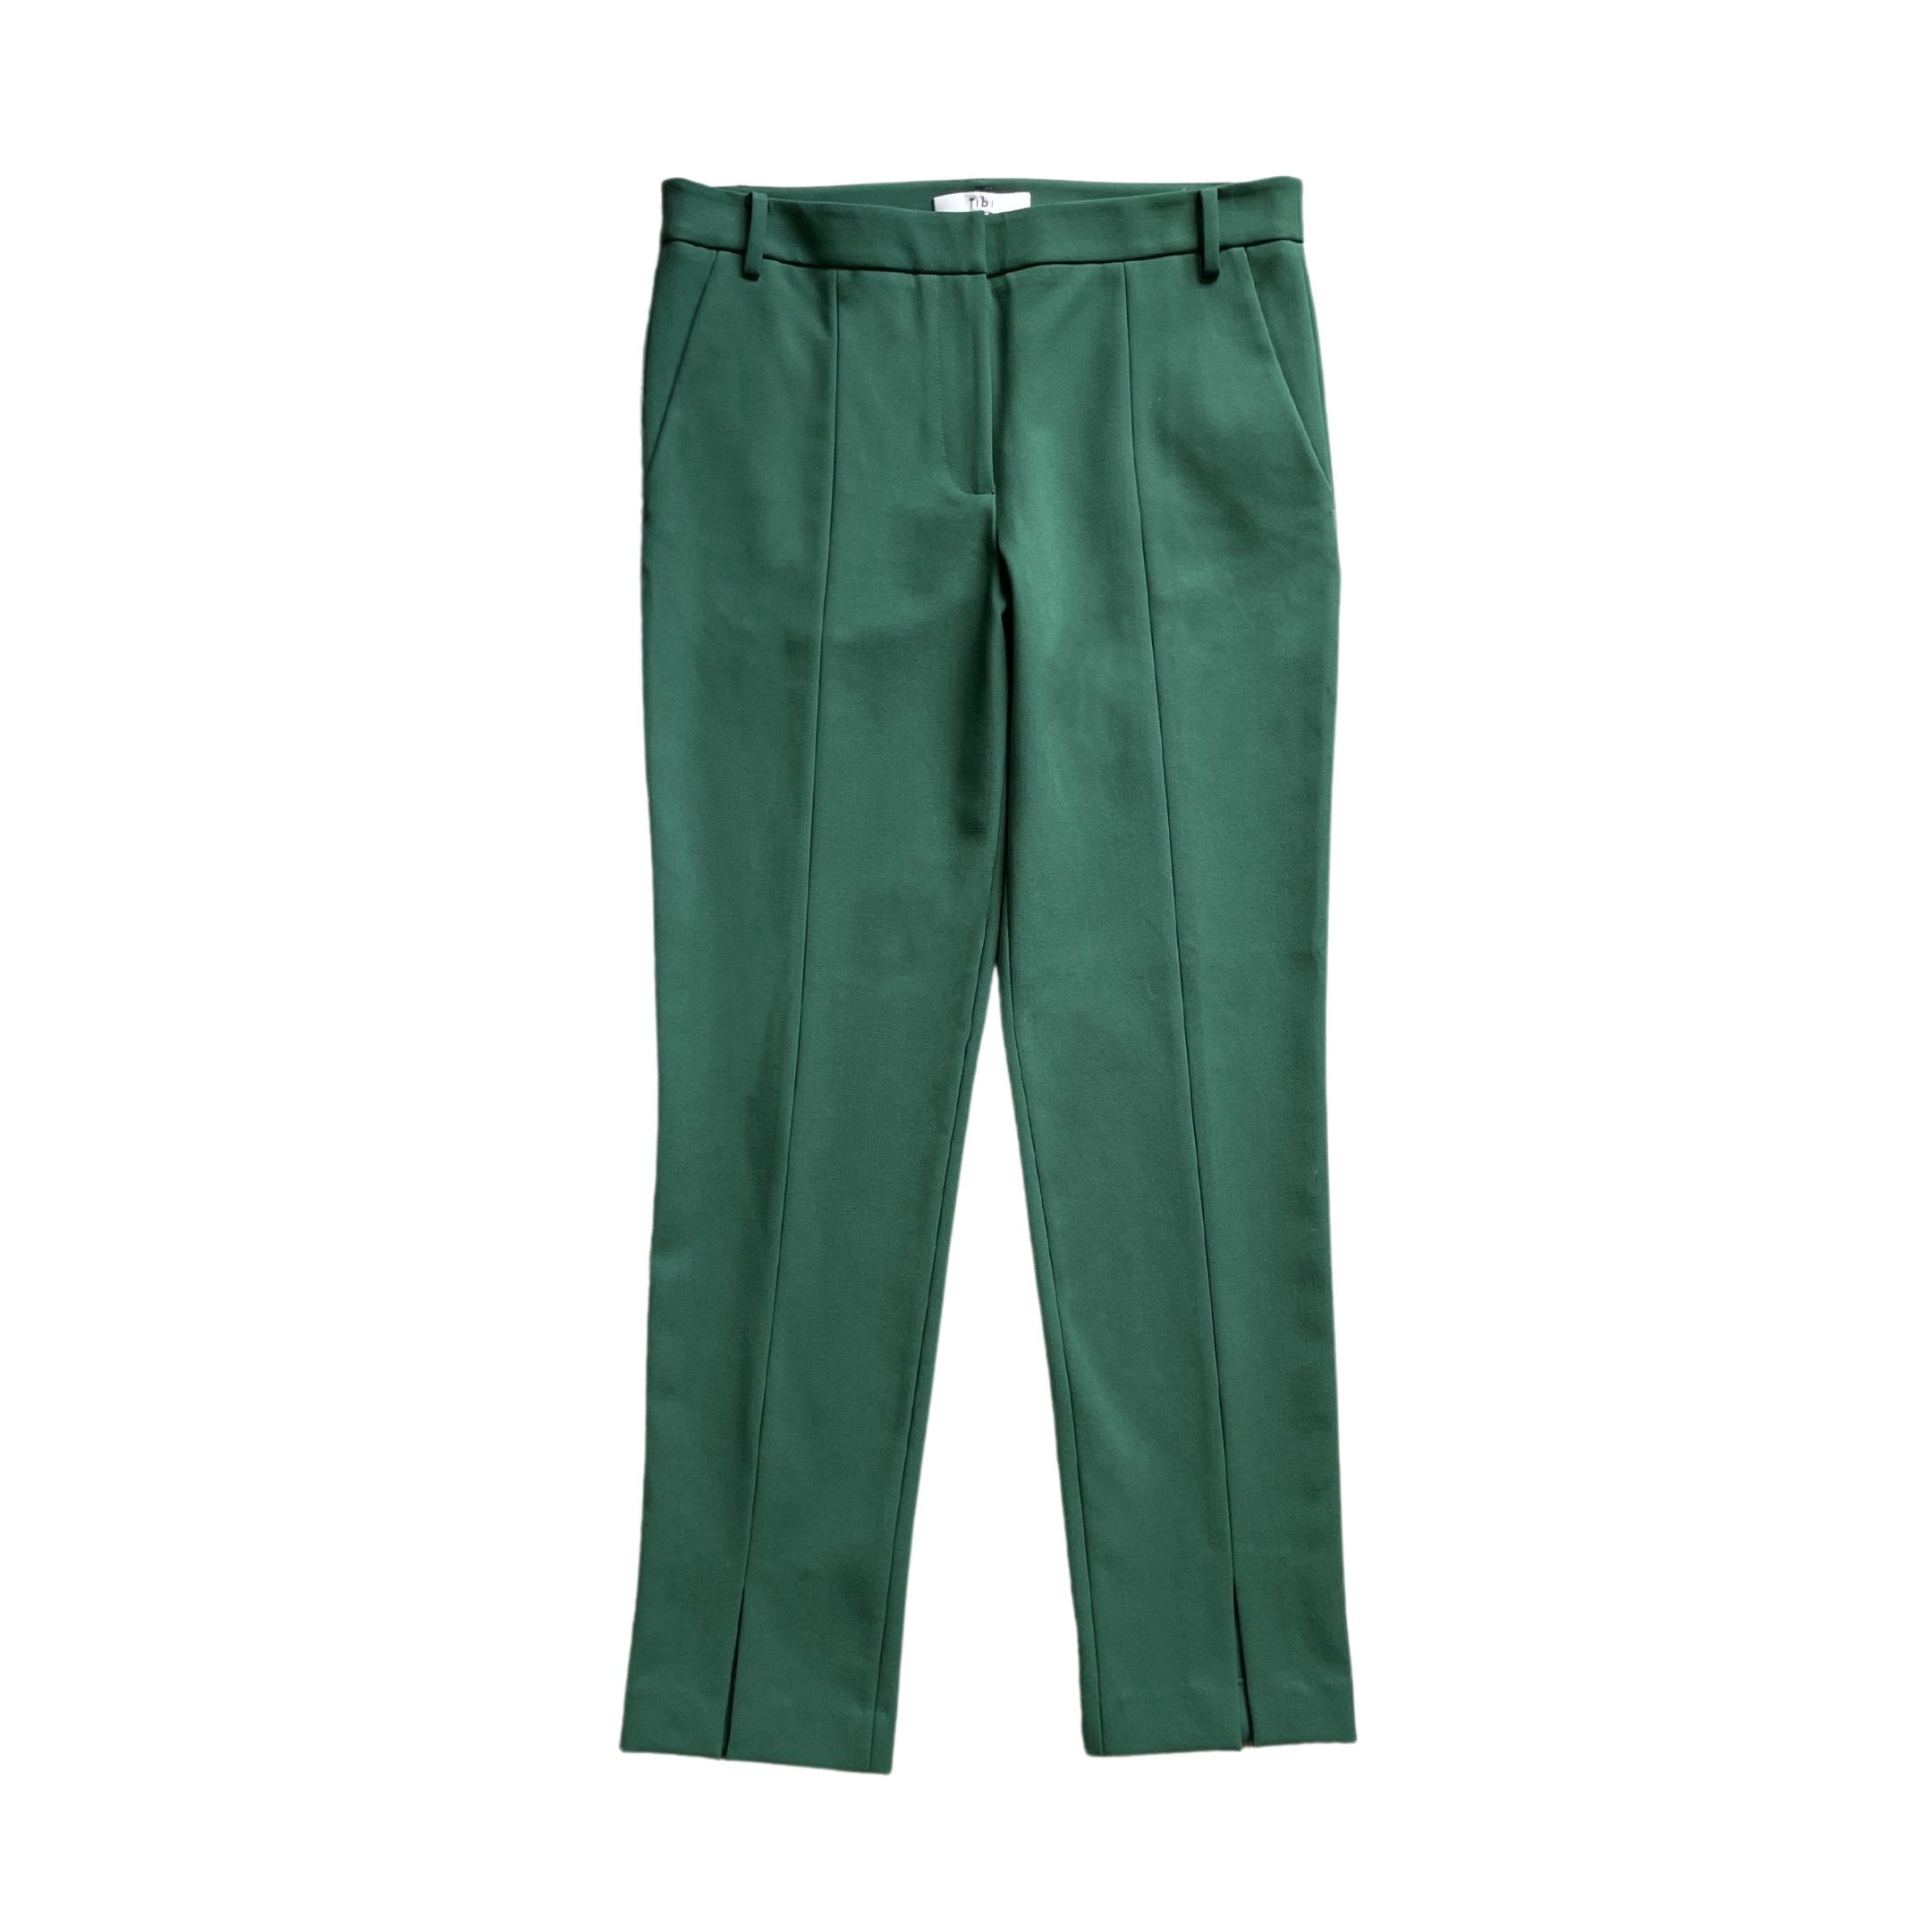
1. Use an unfolded flat-lay position
Items consistently look their best when laid flat on any surface (we use the floor!) and photographed directly from above. Make sure the entire item is captured in the image.
Shoes and structured handbags can be placed standing on an elevated flat surface and photographed straight-on from the side.
All items should be unfolded and positioned similar to how they appear on the body.
2. No ‘extra’ items
Let the item itself take the spotlight! No hangers, mannequins, shoe boxes or dust bags, please.

Do: Use an unfolded, flatlay position with no extra items

Don’t: Fold it up

Don’t: Include other items

Don’t: Hang it

Don’t: Wear it
How To Take It to The Next Level
We also want to share our best tips to go above-and-beyond to create a beautiful, visually satisfying digital wardrobe that feels like a pleasure to use.
Why does this matter?
Well, we all acknowledge the impact that a clean, organized - dare we say, *aesthetic* - environment has on our mental health and wellbeing. It just feels good for most of us to surround ourselves with beautiful things. Your digital wardrobe is no different. It will feel more satisfying and rewarding to use a digital wardrobe where you’ve taken care to make your items look beautiful.
We have seen our professional cataloging clients’ faces light up again and again when they see their digital wardrobes for the first time. It really makes a difference in how you view your own items - and our data shows that it also makes a difference in how much value you will get from the Indyx app.
And, it really isn’t hard! If you are already investing the time to catalog your wardrobe, then it’s our perspective that you might as well learn a few quick and easy techniques to make the most of your effort.
If you’re still feeling overwhelmed, we will gently remind you that we designed The Catalog service for this very reason. If you live in one of our serviceable areas, then we can professionally catalog 100 items in just 5 hours, without you lifting a finger. And, our Archivist would be happy to give you an in-person tutorial so you feel fully equipped to catalog any additional items on your own after the session.
You can check eligibility and book for $295 by navigating in the app to Style> Services > The Catalog.
Our tips to create a beautiful digital wardrobe:
In developing The Catalog service, we spent countless hours studying the techniques of professional flatlay photographers. Our goal? To make shopping your own wardrobe feel like shopping your favorite brand’s website - but everything is already yours!
These are all the very same techniques that our Archivists are equipped with, but we are happy to share our trade secrets to help make your self-cataloged wardrobe as beautiful as it possibly can be.
Seek out natural, indirect lighting
Artificial light can alter the color hue of your item, and direct sunbeams of natural light can cast distracting shadows. We recommend cataloging during the day near a window, with all artificial lights turned off.
Use a neutral colored background (like a sheet or towel)
We like to brag about our automatic background removal - it is amazingly good! - but shooting on top of a colored background can reflect that light onto your item, skewing the color balance. To avoid this, we recommend shooting on a relatively neutral colored background. Our Archivists use a beige mat, but a white sheet or towel works great.
Wipe off your phone camera lens
It sounds silly, but don’t forget! We all tend to have a super thin film of schmutz on our phones that can make photos come out just *slightly* blurry. Wipe your camera lens with a towel or cloth - even your shirt! - before you start to make sure your images come out crisp.
Position the camera completely parallel to your item

This is the #1 thing our professional cataloging clients comment on when they observe our Archivists at work: “Wow, you are really standing right above it!”.
Items shot at an angle look a little wonky when presented as flat in your digital wardrobe. Try to position the camera directly above or directly in front of your item. This probably means leaning a little over the item, and extending your reach. It’s okay if your feet end up in the bottom of the photo - our background removal will take care of that!

Do: Shoot parallel

Don’t: Shoot at an angle
Capture the entire item while coming in close to fill the frame
Not too far, not too close. Aim to just fill the frame with your item, without cutting off any parts of it.

Do: Fill the frame

Don’t: Cut off bits

Don’t: Zoom way out
Button buttons & zip zippers
You don’t need to do them all up - especially if that isn’t how you wear it! - but this will help your item appear much neater by giving a little structure.

Do: Button buttons

Don’t: Leave buttons open

Do: Zip zippers

Don’t: Leave zippers open
Lay down the item with straight shoulders
It all starts from the shoulders! When you lay your item down, make sure that the shoulders are straight and even. This helps keep the entire item looking neat.

Do: Straight shoulders

Don’t: Uneven shoulders
Fold, tuck, or drape so as to appear how it does on the body
Admittedly, this tip takes a bit of artistic interpretation and practice. But here is why it matters: presumably, you will want to use your photos to style outfits. These outfit boards are a visual representation of how the outfit will generally appear on your body. So, you want your item photos to reflect that as closely as you can….without them actually being photographed on a body.
As an example: a flare maxi skirt can be pulled out very wide when laid flat on the ground. But, on your body, it doesn’t appear nearly that wide - it has some drape. And so, when photographing that item you’ll want to try and re-create that drape. Otherwise, the photo will look very foreign to you.
Another way to think about it is if you are trying to choose between smoothing out “wrinkles” to make something completely flat or giving the item shape, you’ll want to prioritize shape.
A very small, specific tip that makes a big difference? Tuck the armpits behind the body of your tops, and the crotch behind one of the legs of your pants.

Do: Add drape

Don’t: Pull width out
Do: Lay naturally & tuck crotch

Don’t: Pull legs out

Don’t: Leave crotch untucked
Tuck sleeves close in to the body
This tip operates on the same principle: you don’t walk around all day with your arms sticking straight out to the side or permanently bent at the elbows. So, if you photograph your items that way, it is going to look very odd and unnatural!
Pin the shoulders where you want them to stay, and drape the sleeve down next to the body. You can leave a tiny bit of space between the body and sleeve, but we usually like to then tuck the sleeves slightly underneath the body.

Do: Tuck sleeves into body

Don’t: Pull sleeves outwards

Don’t: Fold sleeves at elbow
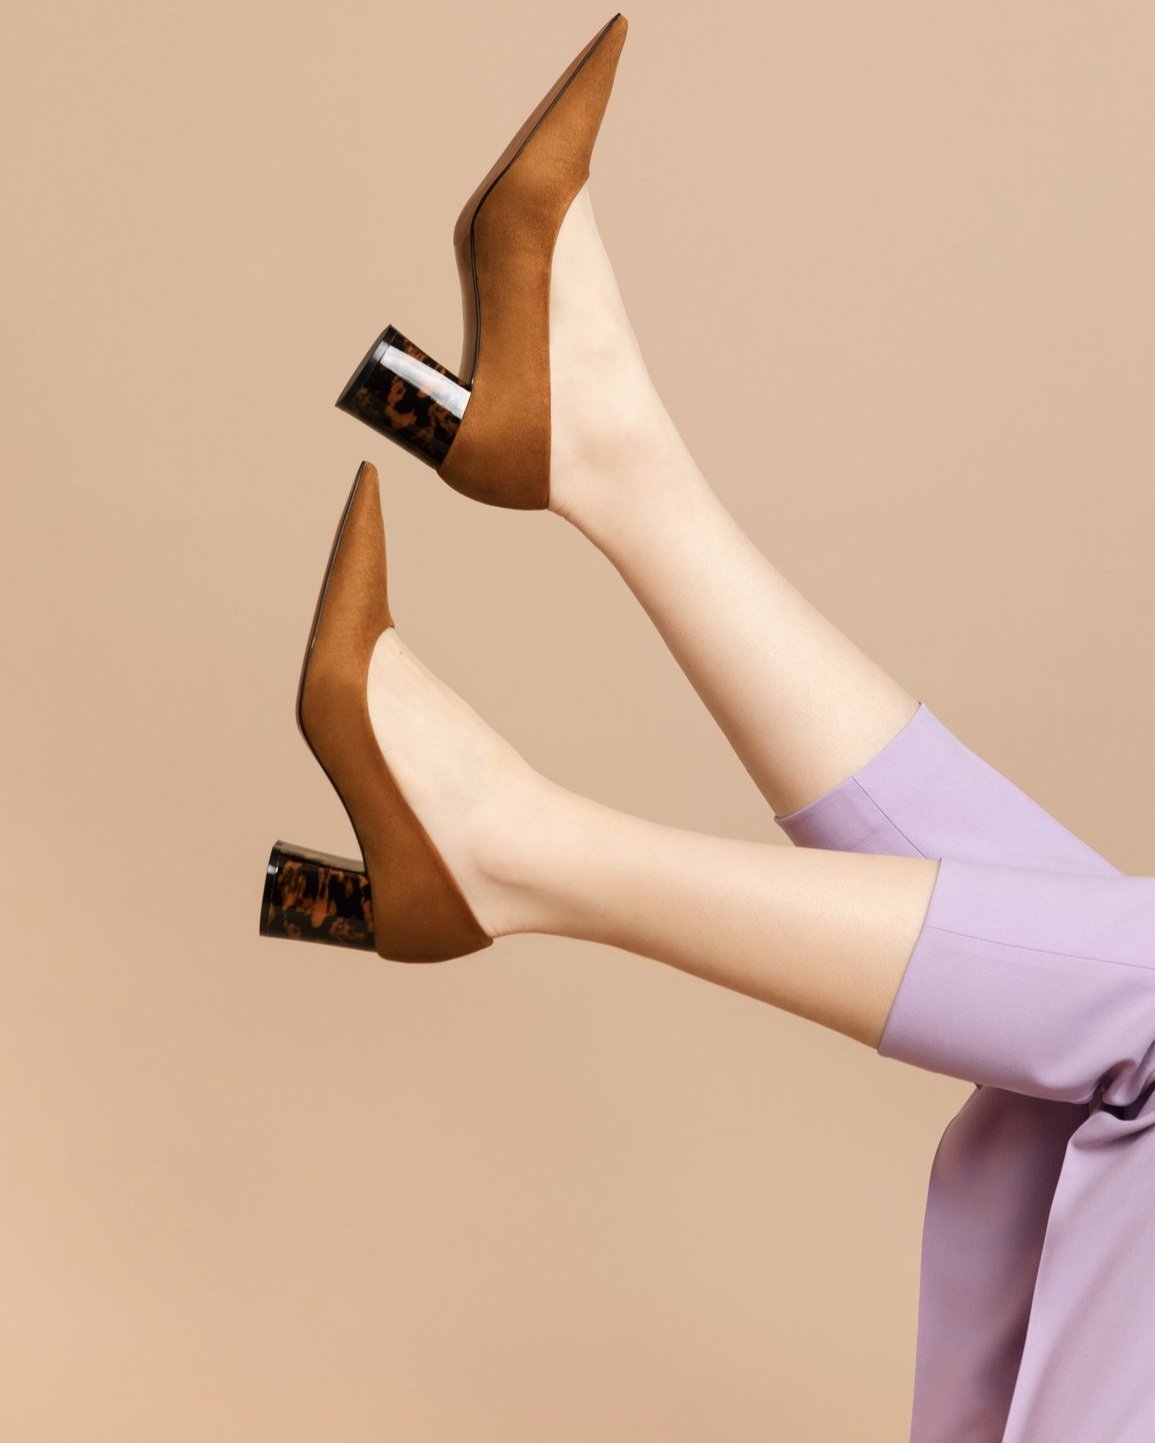
Shoot shoes directly from the side, with toes pointed in a consistent direction (we prefer to the left!)

Place shoes on an elevated flat surface like a desk, dresser, or table, and shoot them directly from the side. Remember: get as parallel as possible!
More unstructured shoes like strappy heels or soft tall boots can be laid flat like clothing and shot from above.
We think it is nice to pick a toe direction and stick with it for a consistent look. We prefer toes pointed to the left, as inspired by The RealReal product imagery.
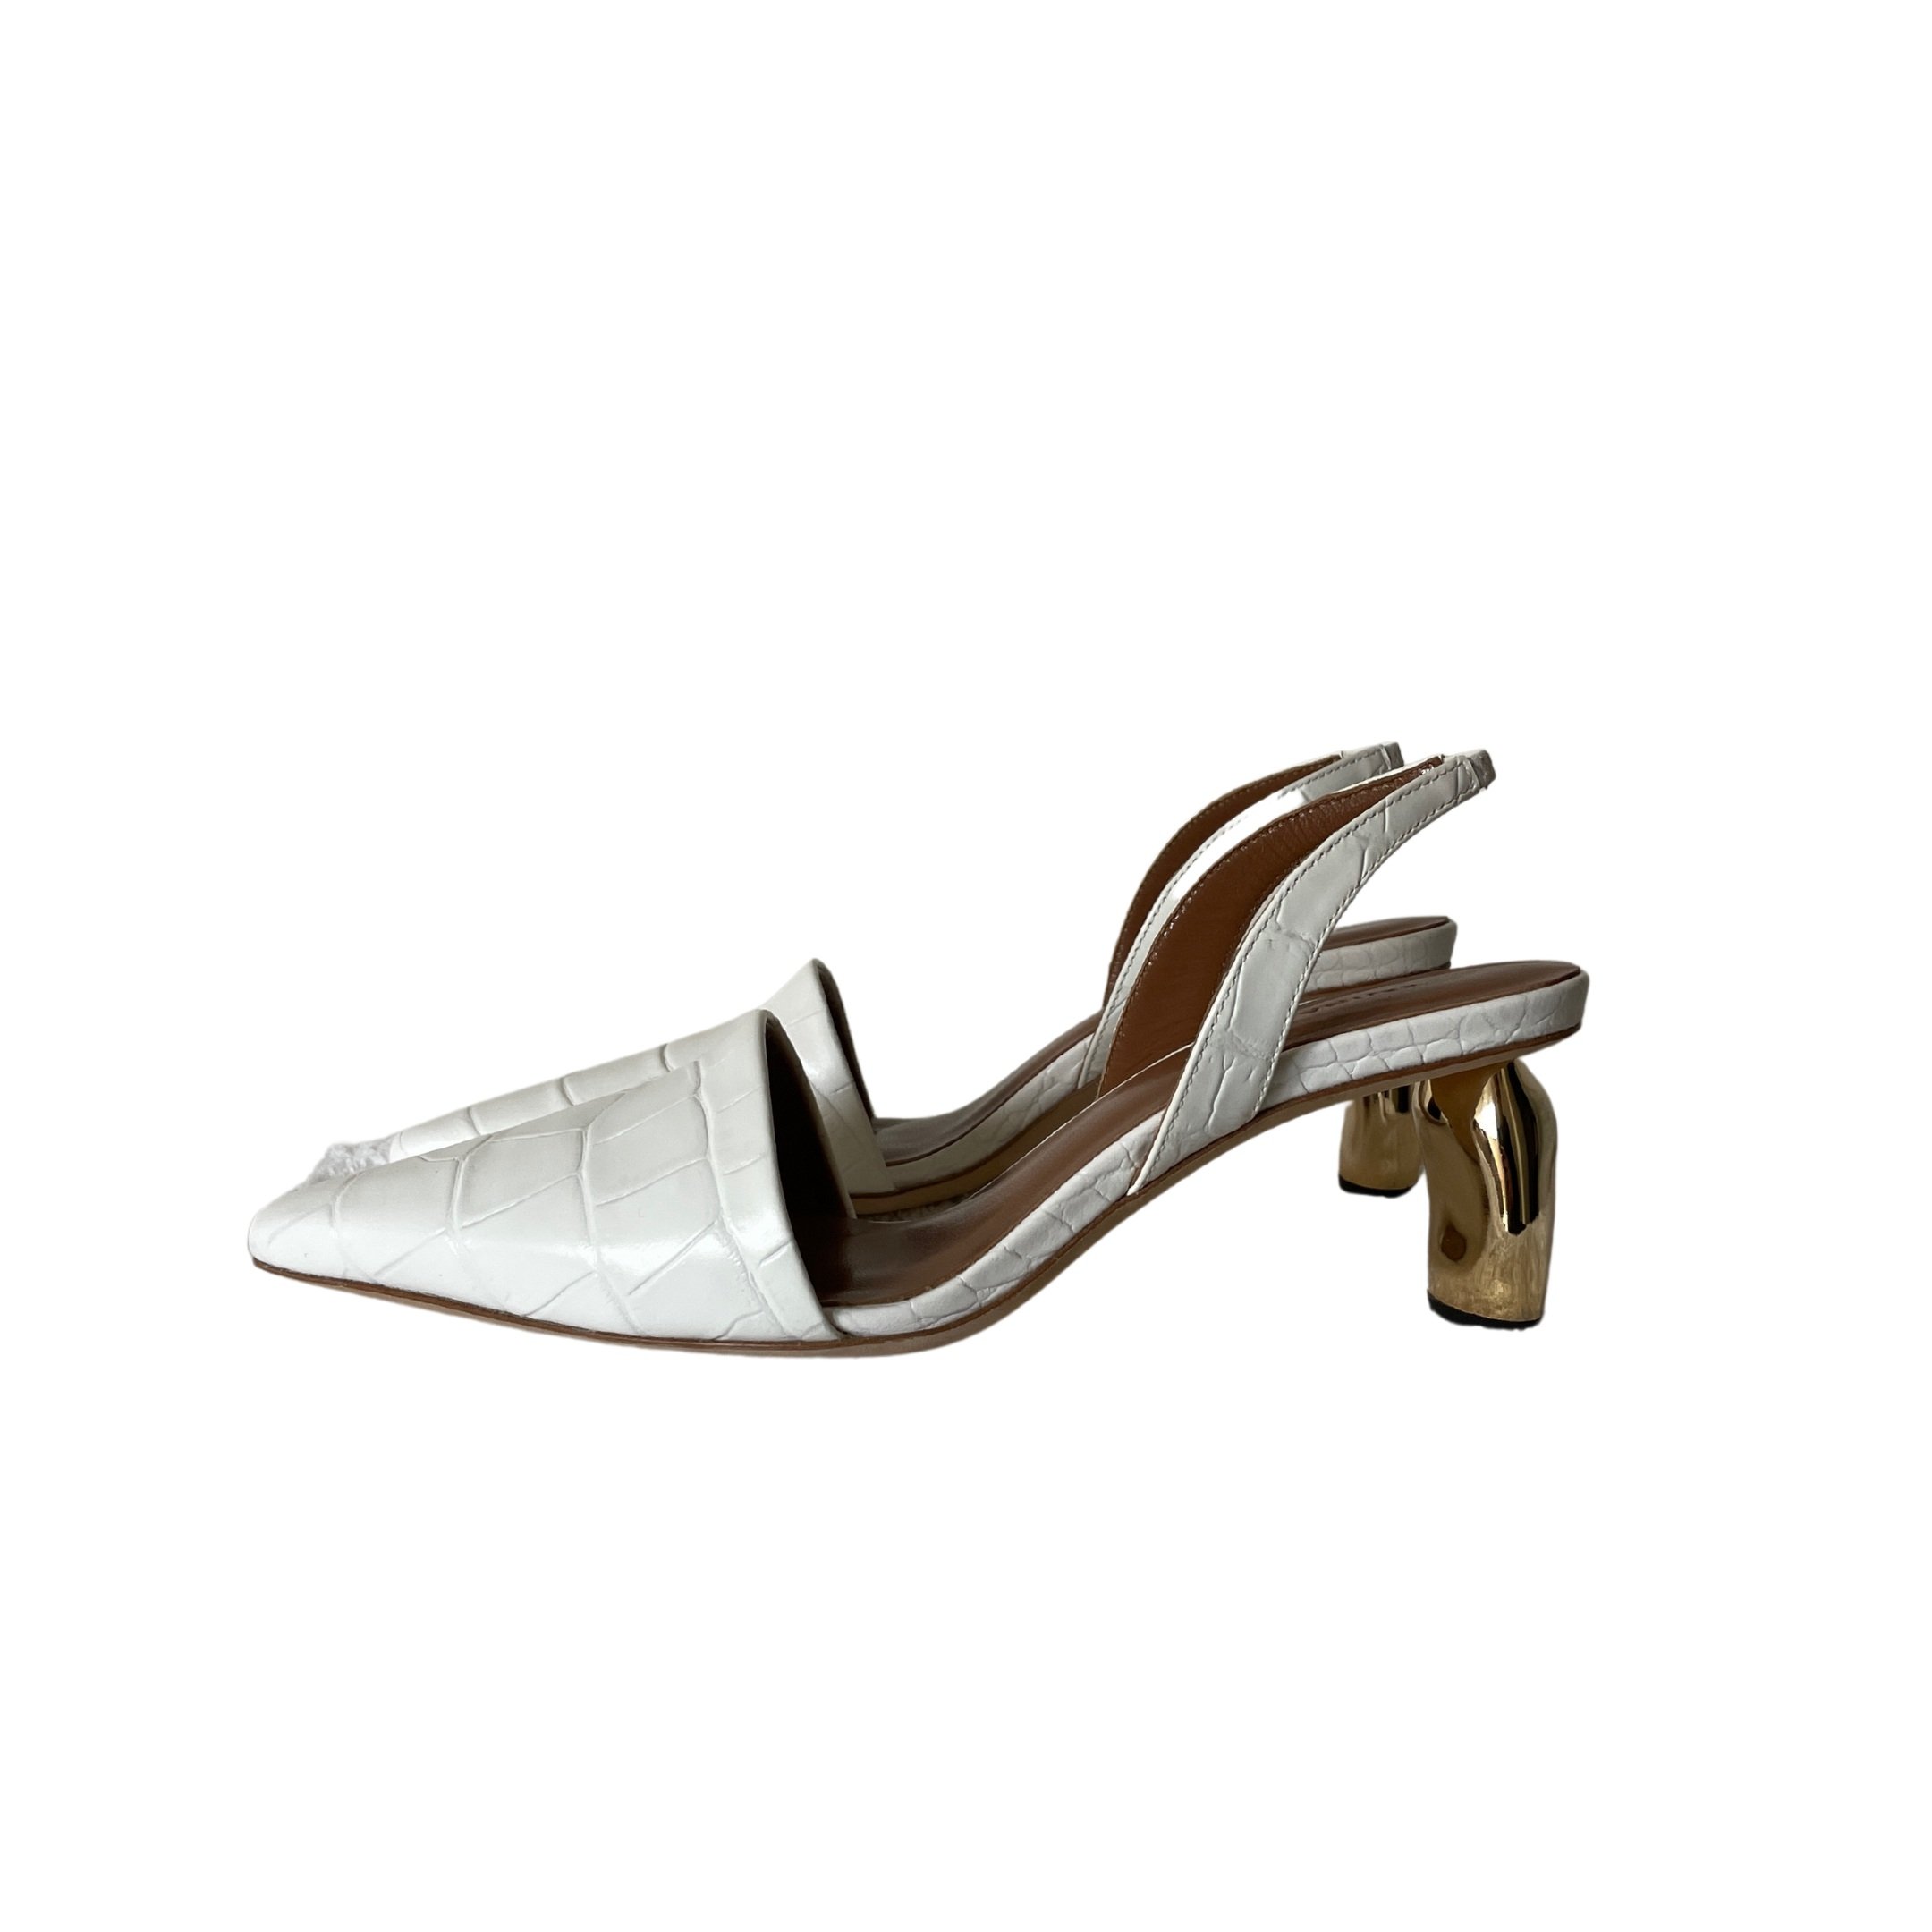
Do: Shoot from the side

Don’t: Shoot from above

Don’t: Shoot at an angle
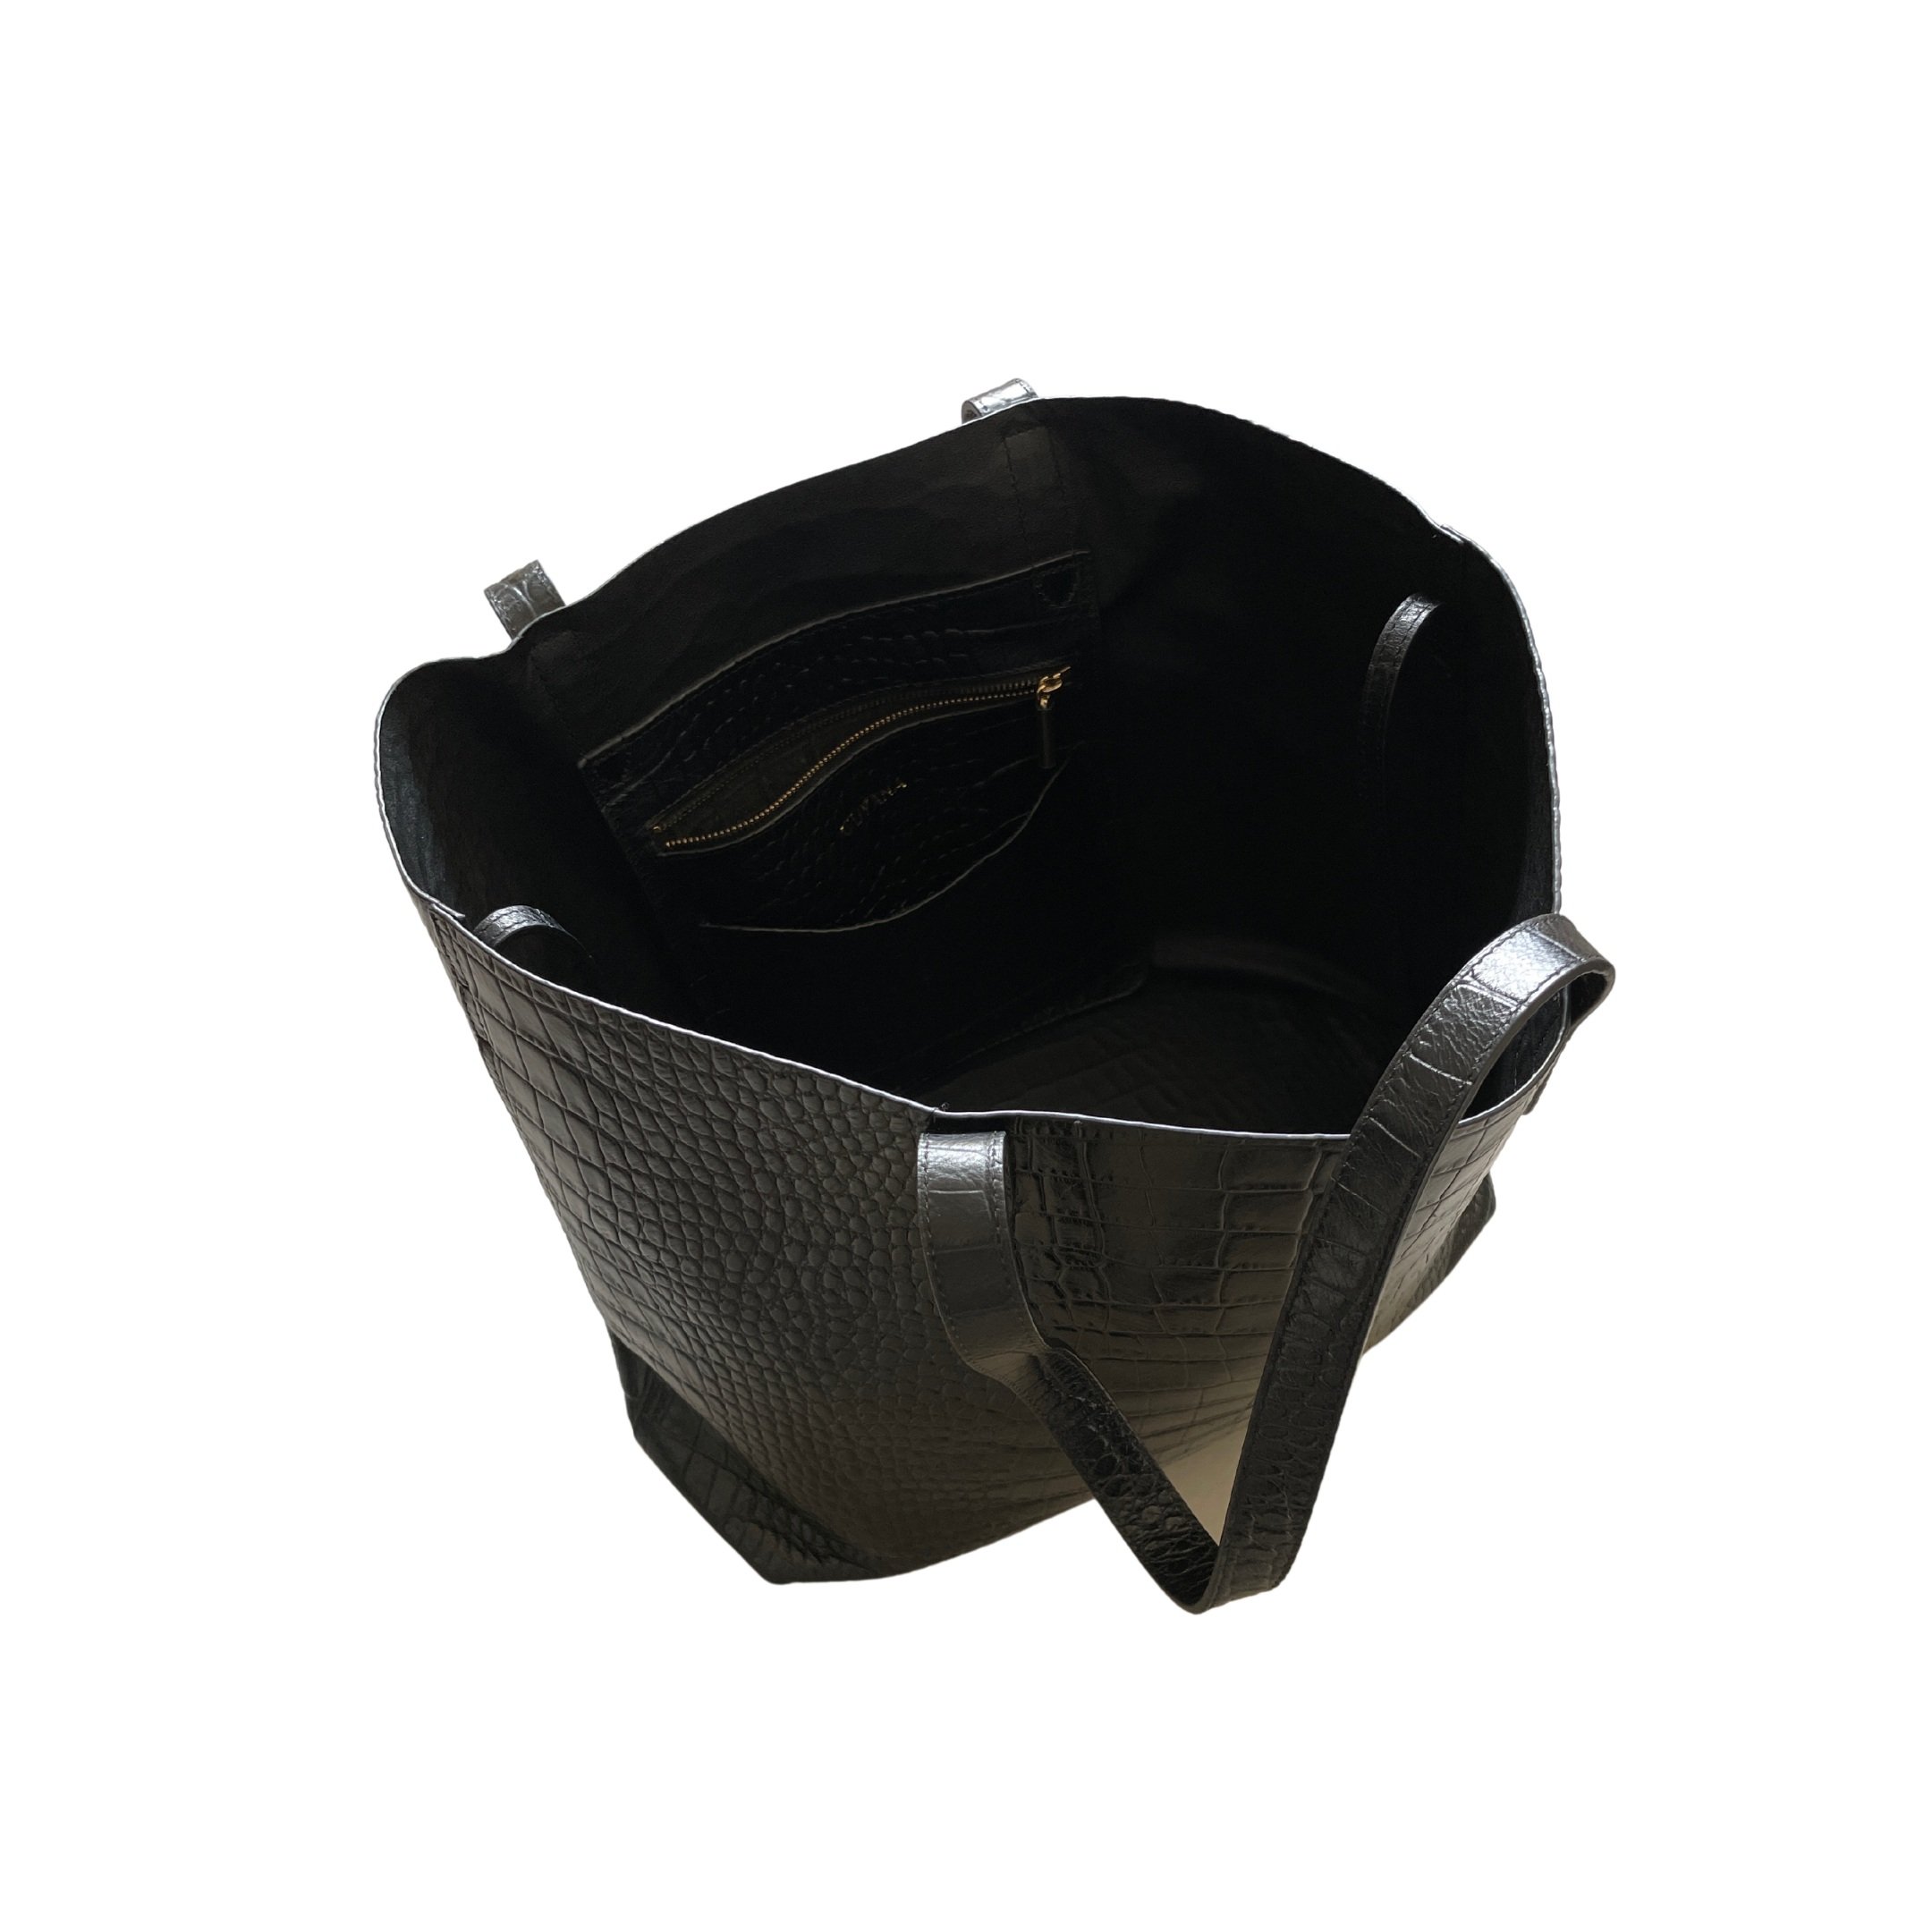
Shoot handbags from the front
If the handbag is soft and unstructured, this will mean laying it flat and shooting from above like clothing. If the handbag is structured enough to stand on its own, we prefer shooting from the side like shoes. Either way, the photo should be of the front of the bag.
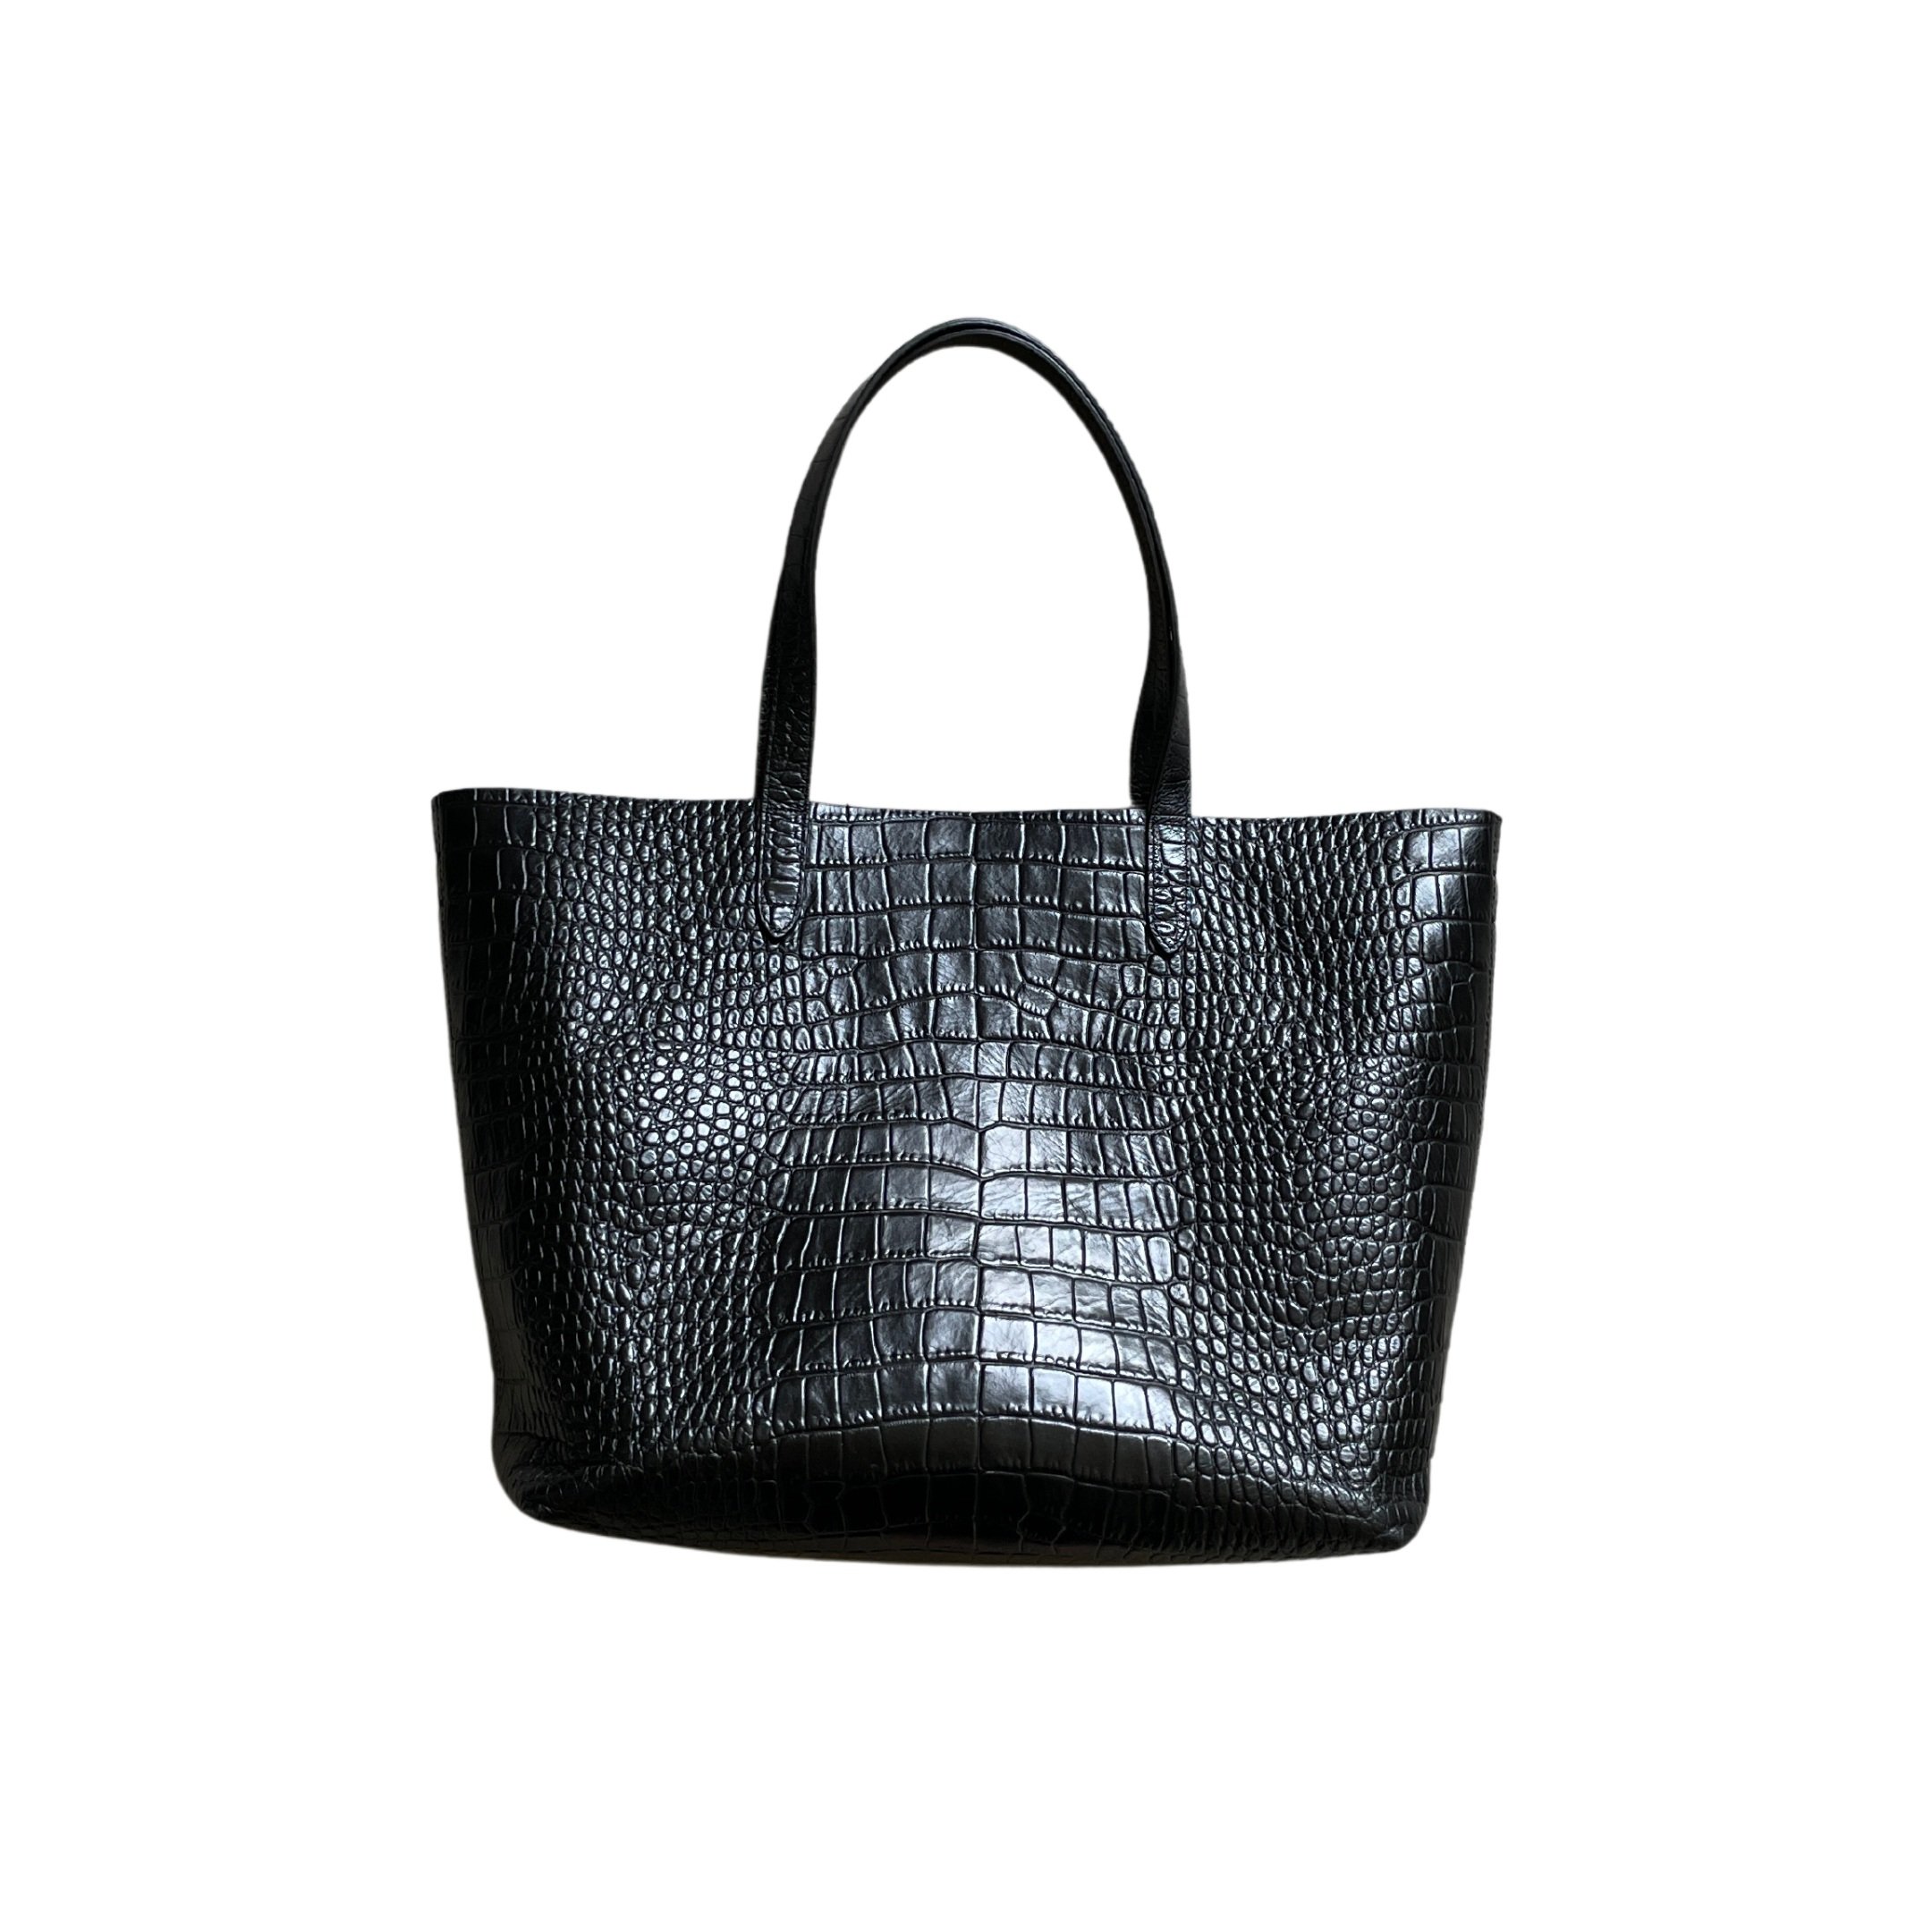
Do: Shoot structured bags from the side
Don’t: Shoot structured bags from above
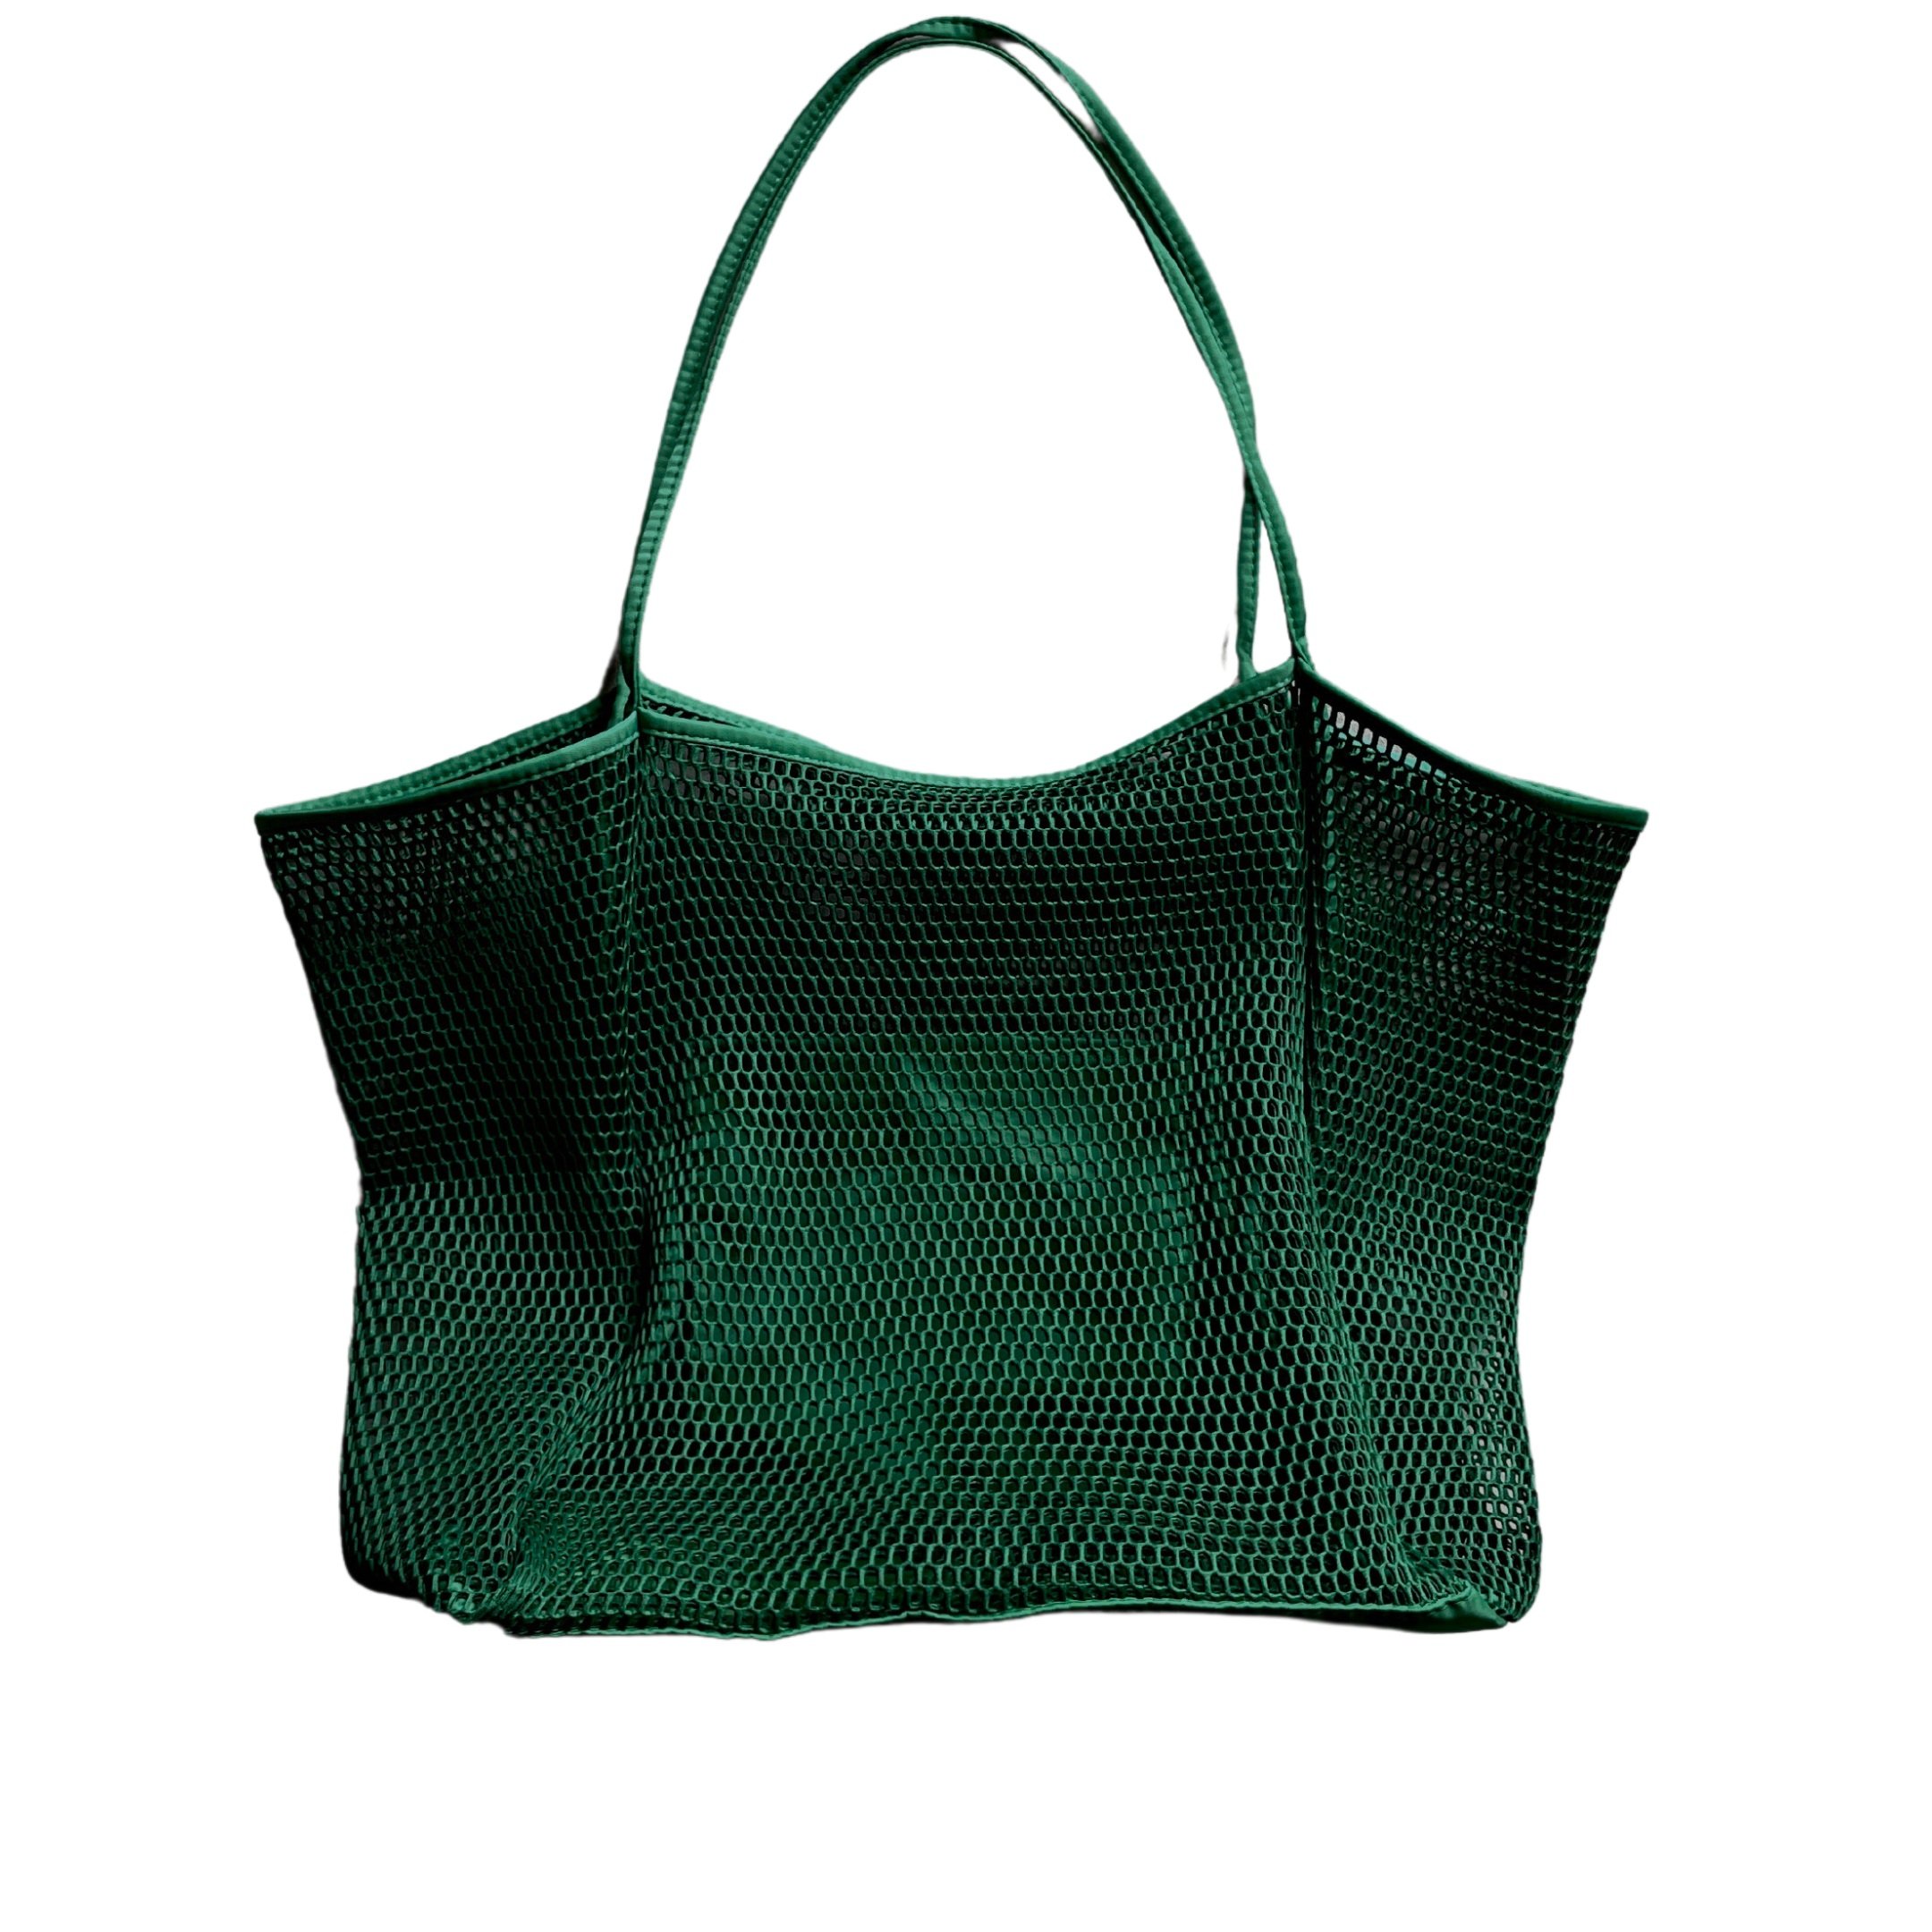
Do: Shoot unstructured bags from above

Don’t: Shoot unstructured bags from the side
Buckle belts and shoot from the side
Buckle your belts (again, emulating how it would appear when worn!), position them on an elevated flat surface like a desk, dresser, or table, and shoot from the side.

Do: Shoot belts from the side

Don’t: Shoot belts from above
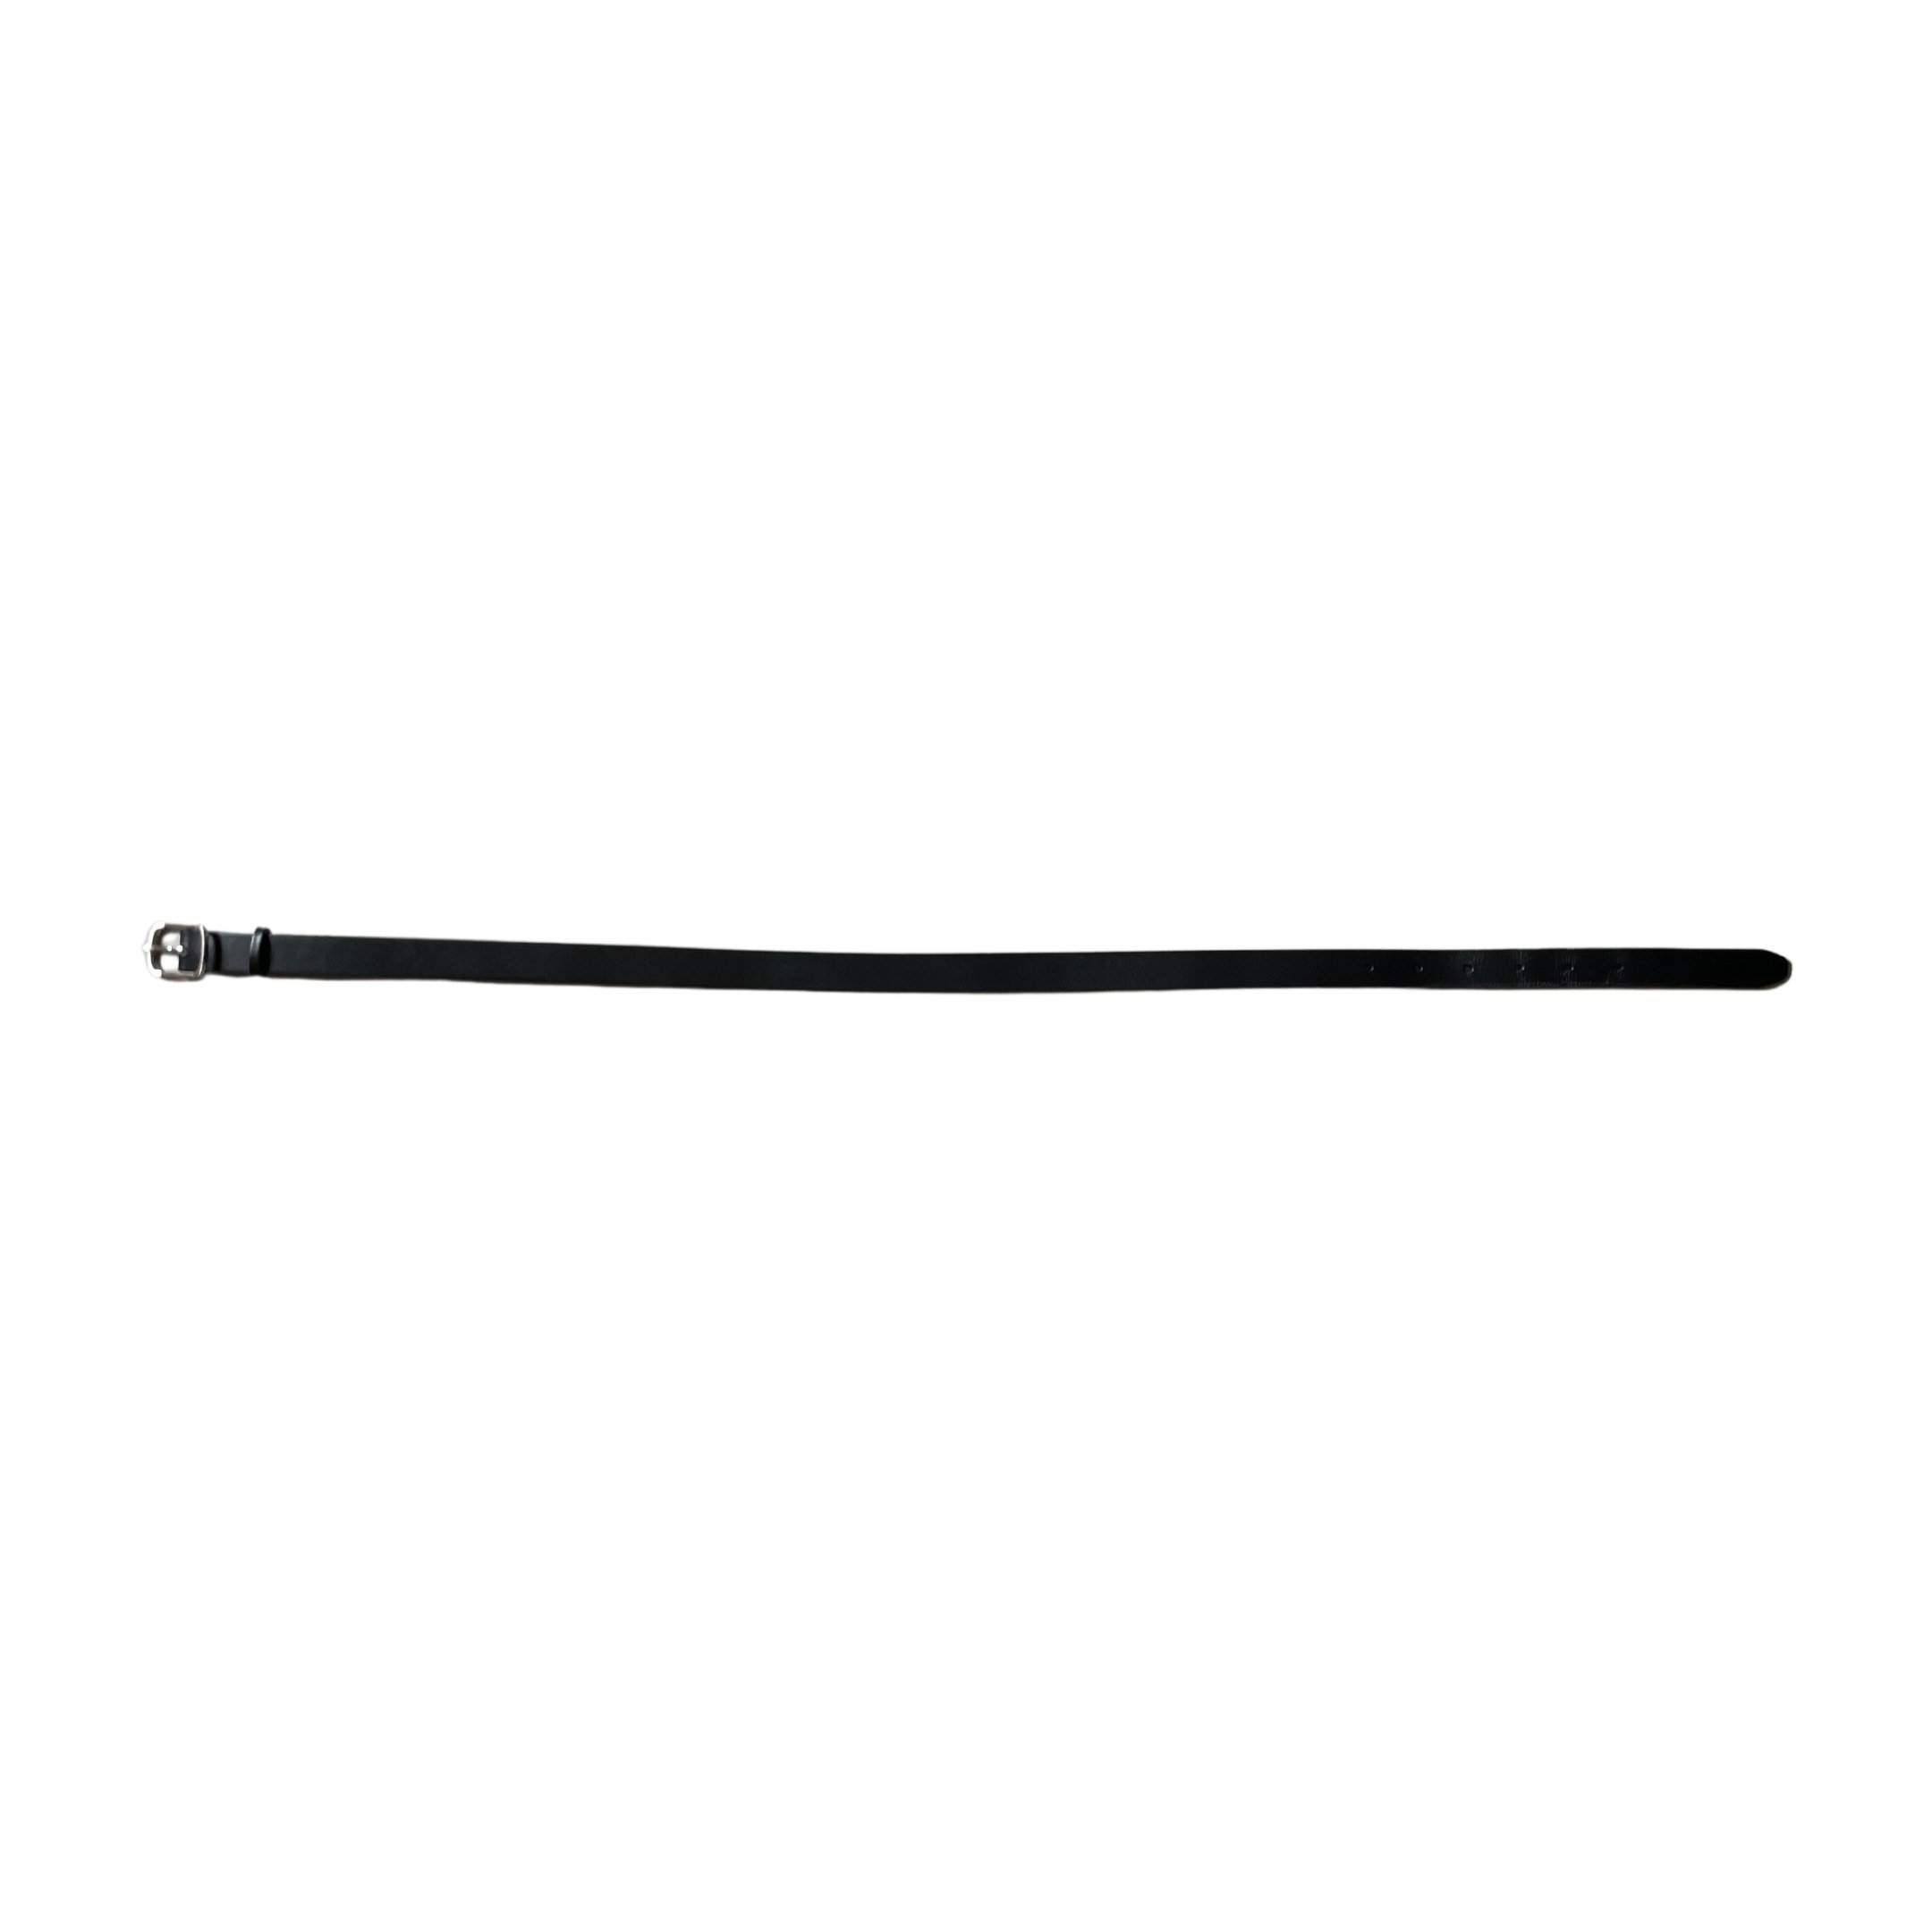
Don’t: Stretch belt out flat
That’s it! With these tips, you are equipped with all the same techniques as our professional Archivists - just without the 10,000 hours of practice. But rest assured that the learning curve is quick. We truly believe that anyone can do this!
And, if you are ever having trouble with anything, feel free to shoot us a note at hello@myindyx.com and we’d be happy to help.
What to Prioritize When Cataloging Your Wardrobe
Short on time? Read our advice on how to prioritize which items you catalog